Sunday, January 13, 2013

Hello World ...

it's me!  your less than faithful blogger ....

I have been totally inspired by the latest Simon Says Stamp Challenge ... which is to incorporate something ... well almost anything ... old into a project ... of some sort ... "Embrace the Old"

Well one thing i have a lot of is "old" .... but I was totally stumped on the challenge ... it took days and days of rifling through my stuff to decide that what i really wanted to use was something new and put it into an old set of tea cups.

The tea cups were a bargain and i was drawn to their low, wide design when I saw them languishing in local thrift store.

so ... here is what I came up with ... my daughter calls it "creepy in a cup" ... but I love it ... it's representative of me reassuring my daughter that i will always be there ... oh and the heart in the background, found that already painted and stamped in a stash of old chipboard ...

hope you don't think it's creepy ... and it's actually in 2 cups ....


 From atop ... life is never a bed of roses, but I will be there ....
 It might be a bit of a wild ride, but I will be there ...
 when life is topsy turvy and nothing is quite right , I will be there ...

when you have those waves of discontent, I will be there ...
 giving you a soft place to land!


peace and love to all of you that stop by and visit ...


Tuesday, January 1, 2013

The last little bits of 2012!

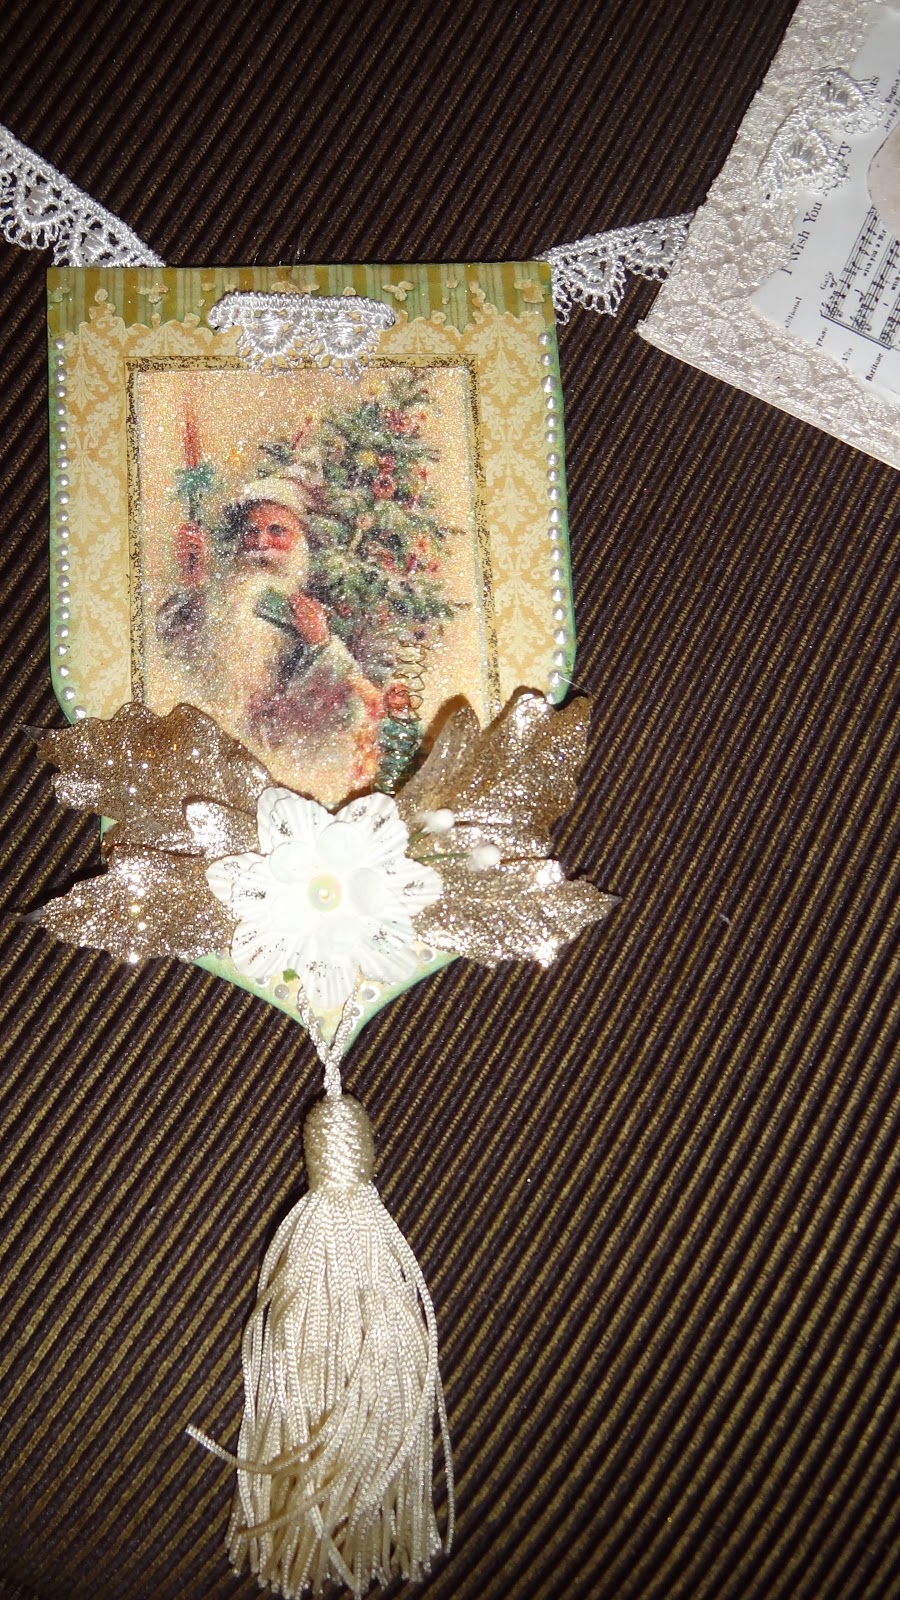
I was lucky enough to participate in a fabulous Christmas banner swap over at Vintage Dragonfly!  We were all to make banners from a shrine template turned upside down, in soft muted vintagey colours, tones and images.

This is the banner I submitted for the swap ...


I used lots of texture with burlap, lace and vintage lace ... I had a blast doing this swap!

And this is the completed banner that i received!  I was thrilled to get this, it looked so lovely draped over the doors of my china cabinet.


 This banner was made by JoAnne of Vintage Dragonfly.  Love the soft soft colour palette.

 This one is by Michele of Nook and Cranny.  The fibre around the edge was actually crocheted onto the cardstock.
 This little blue beauty was made by Melinda (no blog) love love love the lace she used.
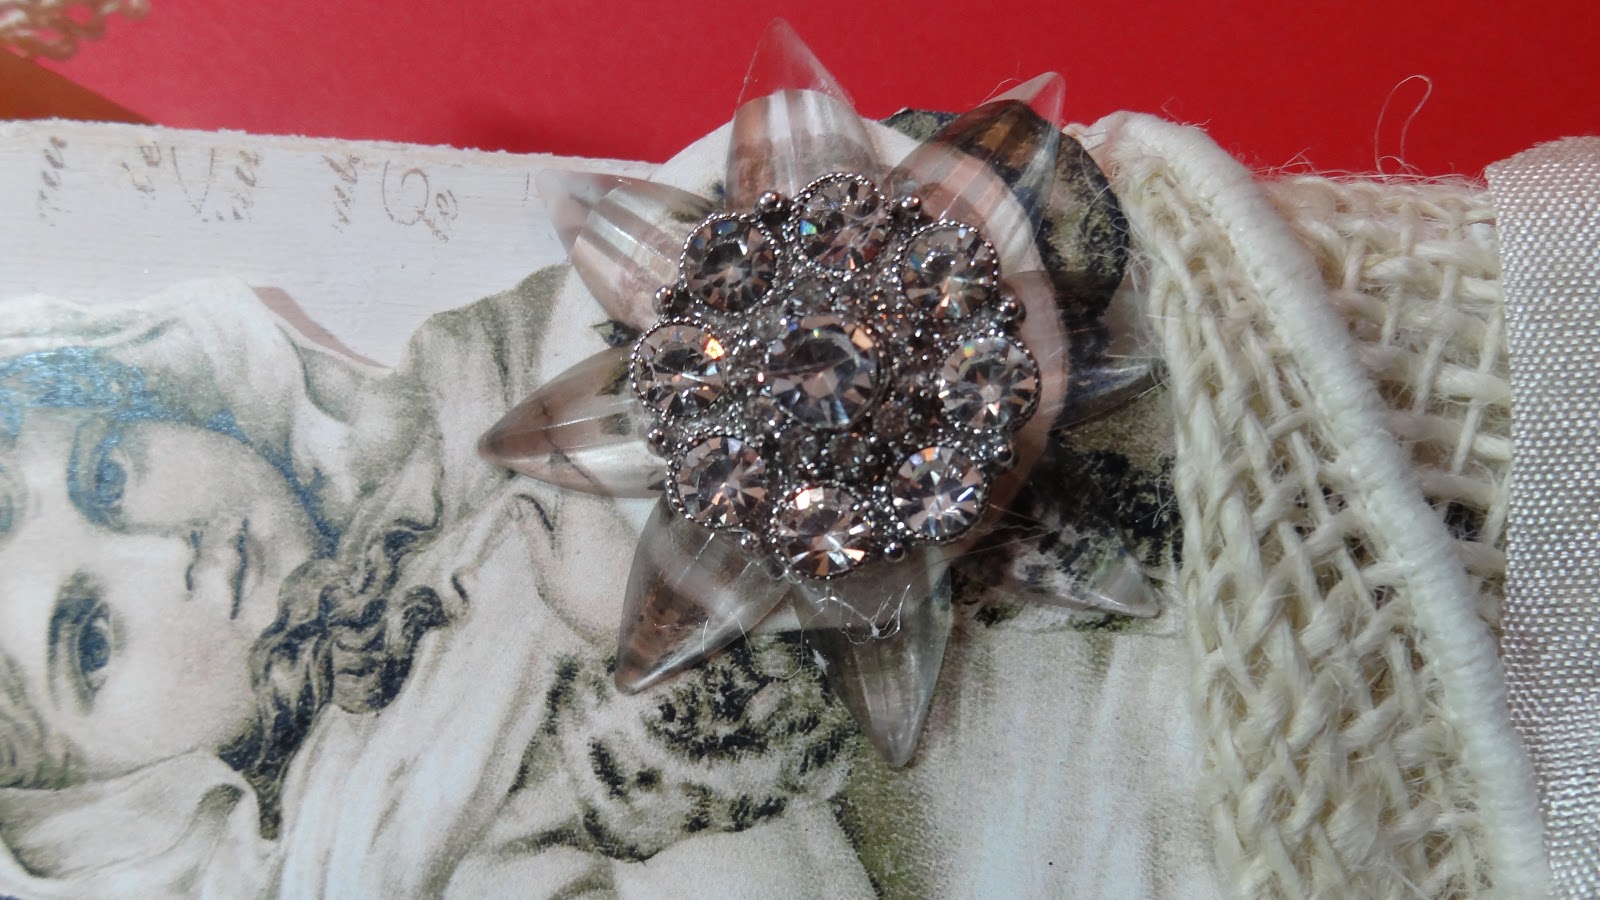
 This one was made by Karla (again no blog) and wow, i just love it to bits!  love the little white resin angel at the top  and the giant bling ball at the bottom.
 this one by Sandi (why don't these people have blogs?) omg, the bling, the glitter the dots of pearls ... so pretty
and finally one by Linda (you guessed it ... no blog)  sorry it's sideways ... what a cute image she used!

I was totally gobsmacked this year when i received a hand made ornament in the mail ... this ornament was created by the uber talented Lynn Stevens of Trash to Treasure Art ... Lynn is an amazing artist and if you have never visited her blog, you should ... you will be inspired!

 I know that these photos do not do this tiny ornament justice ... it is a teeny tiny church in a field of snow captured in a tiny salt shaker ... little vintage bells adorn the outside of the bottle ... it is amazing in real life.

and finally, Do you all know about the Ikea Monkey?  If you don't just google it ... basically it was a little monkey wearing a shearling coat, trying to get into Ikea.  My niece Alyssa used a still photo from the internet, and photoshopped it and created a background for it ... all done in Ikea colours of course!  She then printed it off and used it to wrap a friends Christmas gift in.  Well, that friend put it on facebook and from there it migrated into that whole great big World Wide Web thing!  LOL!

I was thrilled to see it on MSN just before Christmas.

Thank you so much for sticking through this rather lengthy post ... may the new year bring you peace, health and happiness! hugs to you all


Thursday, December 20, 2012

Because you asked ....

I got a couple of emails asking me how i made the vintage style  paper ornaments from my post here.

So I thought I would put a little tutorial together for you!  Now, I do not by any means lay claim to be the originator of this style of ornament ... I saw something very similar on the blog House Revivals. If you have time, stop over and visit Amanda at her fab blog!

Back to this ornament .... it is easy peasy...

Cut 24 - 32  circles all the same size, for one ornament ... on this example I used 3" circles.    You can use a punch, diecut or just traced cut out circles.


Once the circles are cut, fold each one in half, having the text running side to side and the fold running up and down.  Fold in any direction if you are using patterned or plain paper.  I used Stampin Up paper designer paper.  You can use book pages or sheet music pages as long as they are not too fragile.


Using a gluestick or quick drying liquid glue, coat the entire side of a folded circle.


Stack another folded circle on top of the glued folded circle.  Keep gluing and stacking until you have a little stack of about a third of the papers.  Make two more stacks with the remaining folded circles (this is easier than creating one giant stack.


Then glue the stacks together to form one giant stack.
Now the tricky part ... glue the "spine" the folded edges of the stack ... just run the glue stick up and down to get all of the edges coated.

Decide what you want to use as a "hanger" ... in the example below I have used a fine string with a crystal button and jewel.  A pretty alternative (and an easier one to use) is a narrow ribbon.

Lay the ribbon down the spine of the ornament.  at the bottom end of the ornament, tie a know in the ribbon so it will stay in place, Form a loop at the top of the ornament and tie another knot.


In the example below I threaded one hole in the button and left it on the top of the ornament.  I then ran the thread down the spine and looped it through the crystal.  ran the thread back up the spine and through the other button hole and then tied a knot.
This sounds difficult but it is really very easy.  Once it is done, glue the top folded circle, and attach it to the bottom have circle so that you have a 3D circle.

At this point you will want to make sure that 1/2 circles are not stuck in clumps ... as in this little example, make sure you separate the clumps and spread out all of the half circles

 Still declumping this ornament, but you can tell that more of the 1/2 circles are free.

 Next you do the honeycombing ... on one half circle stick glue dots or double sided tape in the
area of the red dots ... which is roughly 1/3 of the down the sides of the ball.  flip to the next half circle and stick a glue dot on the edge of the paper in the centre. Just keep repeating the pattern of 2 glue dots on one circle, and one glue dot on the next until all of the circles are stuck together in intervals.  Your ornament should look like this!
 Option finishing touch is to lay some fast drying liquid glue down on all edges and then dip in glitter.  This just adds a bit of glimmer and shine!

Here you go, a finish ornament.
Another option is to just do the layers, and do not do the honeycombing ... this looks good on smaller circles or punched shapes.  I used the Stampin Up ornament punch to create this little ornament.  You could also try a heart punch or a tree punch or anything else you can dream of!
 I hope  you enjoyed this tutorial and I hope you can make yourself some fab little vintage ornaments!  A box of these makes a fabulous little hostess gift!

Thanks so much for stopping bye!

Wednesday, December 19, 2012

a little giftspiration!

I just had to join the Simon Says Stamp & Show challenge this week ...  Which is Giftspiration!  Giftgiving!

Since I had made little presents for my local scrapping buddies, I thought I would share one!  and yes, I am still on a house kick ... I am just loving making houses of all shapes and sizes right now ... so of course I made a little bird house gift!  These photos were all taken by my friend Izzy, I have such camera and lens envy!
 A little winter birdhouse perched up high on a crystal candlestick .... I actually found a couple of crystal candlesticks at the thrift store ... so the price was totally right!

 A view from one side ... lots of distressing of the corners and paper and brushed on several layers of paint ... the glitter is from SU.
 I also used a lot of Diamond Stickles from Ranger on the edges of the roof and floor.

 The flowers are Prima, tim Holtz and Kaisercraft ... the bling is Prima and the Plaquettes  are Tim Holtz ...

The "vintage" seam binding is from etsy.  I had a great time making this little house and Izzy loved it so I was thrilled!


And finally a hot of all of the little prezzies I made from my local gals. (this photos mine) The Teacup ornament was totally inspired by my dear blog buddy Lynn.  You really must go visit her at Trash to Treasure Art ... her blog is full of fab inspiration!

Thanks so much for stopping by!


Saturday, December 8, 2012

taking on a challenge ...

I decided to participate in the Simon Says "house rules" challenge.  I have never done a challenge at Simon says before, but hey, you know me, if it says "house" ... I'm all over it!

I just have an affinity for houses, birdhouses, homes ... all things home ... and yes, I am a Cancer and that is my little "homebody Cancer self" talking ...

This is what I started with ... a 2x4 cut as a picket ... a basic house shape!


Here is the "almost" finished project ... sitting on red cardstock and waiting for the glue to dry!

A little detail ... used the Tim Holtz Philosophy tag and dabbed on some Adirondack Snow Cap  paint, also some burlap ribbon and some wonderful vintage seam binding.

 This image is from Graphics Fairy, I muted the colours a bit, the bling is and old button by Bazzil, and the clear flower shape is from Pink Paislee.

The roof is made from shipping tags that have been resized, inked, stamped with a Tim Holtz "Letters to Santa" image.  I added lace to the front edge of the roof

And voila!  Here is my picket house, finished ... and standing close to house I made a few weeks ago.
I used another Tim Holtz stamp for the background trees and a french script stamp by Stampin Up ...

I had a lot of fun with this project ... I can't wait to make another, and another ...
Thanks so much for stopping by and taking peak!


Thursday, December 6, 2012

December Daily ...

for those that scrapbook, making a mini album documenting the month of December is a fairly popular thing to do ... over the years I have resisted ... especially as my daughter has gotten older and December is usually spent by her studying for finals, working, volunteering and hanging with chums.

This year, I decided to actually take on the challenge ... who cares if the 16th is all about final exam, or the 4th was spent grocery shopping ... it's all part of life ... and hey that's a great thing!

I had a lot of fun making this mini ... using odds and ends, Jenni Bowlin papers, Stampin Up stamps and a lot of vintage lace, odds and ends, photos, envelopes etc.

Here's a few of my favourite pages!

This is the cover ... i love the mixture of textures from burlap sacking to vintage doilies and Starbucks cup holders ... hey those things are corrugated so i keep them in my stash!  perfect for little things!


 Some detail of the cover, I just love the vintage doily stamp from Stampin Up ... I especially love it for backgrounds!  And chunky german glass glitter ... I just love the stuff!


 I actually even used the non corrugated side of the Starbucks cup holder as a star, i just liked the pattern!  The vintage bird image is from Crafty secrets.


 I left the stars hanging on bakers twine ... i hope it looks good once the page has photos.  On the 9th I am going to see Cirque Du Soleil ... so I added a vintage envelope to stash my ticket stub in!


I loved this old photo that i picked up at an antiques shop.  I had to add circus hats to them, hoping that they will laugh!

My favourite pages ... love the crafty secret images and the rocking horse paper is actually wrapping paper ... as soon as I saw it I knew I had to include it ... it reminded me so much of a rocking horse that my Dad made for me when I was a little girl.


I only have the one picture ... and it's very tiny scan of a slide ... adorable rocking horse, right!!!

Thanks so much for stopping by ... I really appreciate all of your comments and visits!